Elements provides physical security, achieved through cloud-based software. Devices that are on-site communicate with software that is already installed in the cloud. LenelS2 manages the cloud-based security system and updates the software, making new features and fixes available to the system. The reseller is the organization responsible for installing and managing the security system. The customer is an organization using the security system, where the security management responsibilities are handled by the reseller. The security system supports multi-tenancy, so the reseller account, along with their related customer accounts, resides in the cloud, accessed through the management portal and the customer portal.
Getting Started in the Management Portal
The management portal is used to oversee customer accounts, oversee other users of the system, and obtain auditing reports. To get started, resellers should contact their sales representative.
Account Activation
After being added by LenelS2, the reseller receives an email inviting them to join the security system.
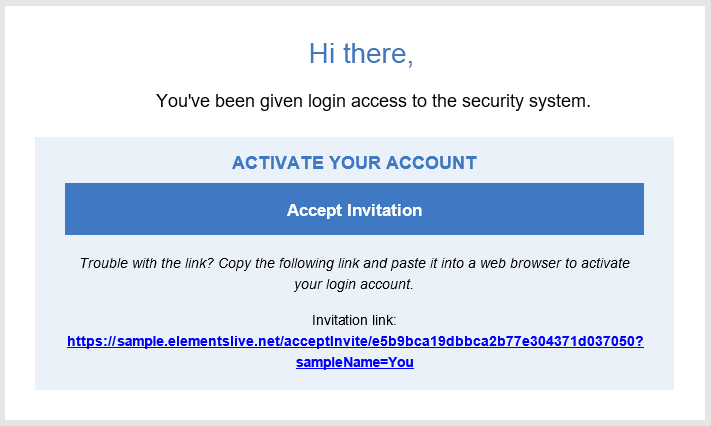
The email contains an activation link to accept the invitation, which is valid for five days.
- Follow the link by selecting Accept Invitation.
- Review the Elements End User License Agreement and LenelS2 Privacy Notice. To agree, select the check box and select Continue.
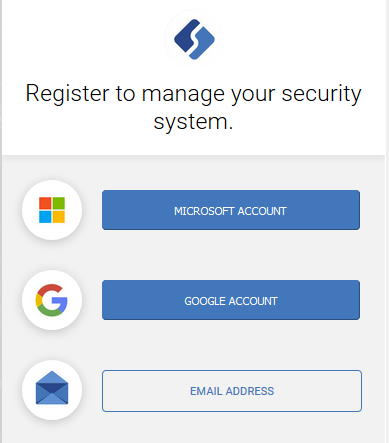
- On the web page, select Register for a new account or Sign In to use an existing account.
- Register a user account to access the system:
- Use a social account (Microsoft account or Google account).
- Create an Elements account to be used exclusively for the security system.
- For the customer portal, if the system administrator has enabled single sign-on, use the account provided by your organization.
- If you already have an Elements user account for the customer portal, sign in with the same account to register for access to a new customer security system.
- Register a user account to access the system:
Create an Account
An Elements account may be created to sign into the security system. This account is based on an email address and is valid for this system only.
- After accepting the invitation and choosing to register, select Email Address.
- Enter the email address for the new account.
- The email address needs to be verified. Complete the verification process by selecting Send verification code and entering the verification code received in the email.
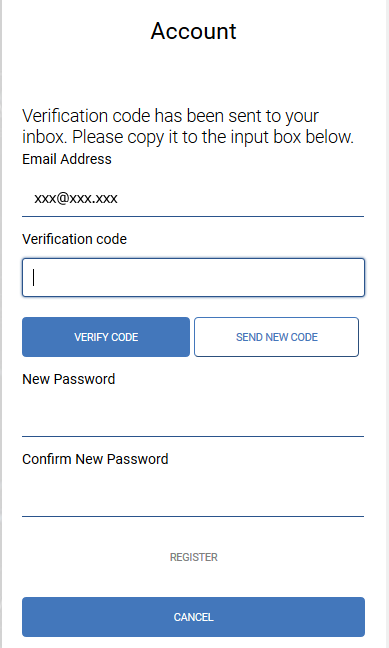
- After the email has been verified, enter a new password for the account. Select Register.
Common User Interface Controls
There are options throughout the system that are commonly represented in the user interface (UI).
Icon or button | Definition | Description |
|---|---|---|
| Navigation menu | This icon, usually located in the top corner, is used to toggle the navigation pane. |
| Collapse | This icon is used to collapse or hide the navigation bar or screens that are opened when viewing and editing details in the system. |
| Add | Based on the context of the currently selected page, this button is used to add data to the system. |
| Actions menu | This icon appears based on the context of the current screen being viewed. Select the icon to view additional actions that are available. |
| Toggle switch (on) | This icon is used to indicate the state of a configuration or option. Selecting the switch toggles it between enabled (on) and disabled (off). |
| Toggle switch (off) |
Onboarding
In the management portal, resellers can see all their customers in one place. To start, add new customers signing up for the security system or additional people in the reseller organization to help manage the customers.
Customers
Viewing the Customers page for the first time (before any customers are added) displays a welcome screen. To add a customer, select Add a Customer. For more information, refer to Add or Edit a Customer. After adding customers, this page displays a list of all customers in the system. Select any customer to view their details.
The System ID is required when calling technical support. It can be found by selecting the customer and viewing their System Details.
People
The People page displays users from the reseller organization. These users help manage the security system. People may be added by selecting Add a Person. For more information, refer to Add or Edit a Person.
Setting up the Security System
After adding the customer, a link becomes available for signing into their system. Select  to follow the link and configure the security system in the customer portal.
For more information about setting up the security system, refer to the customer portal documentation.
Customer Portal
The customer portal is used to manage the security system. The dashboard appears as the landing page. The dashboard displays the numbers and statuses of events, people, and devices existing in the system.
Devices
Devices are the gateways, controllers, reader interfaces, readers, video recorders, and cameras controlling the facility. These devices need to be installed on-site and then configured in the customer portal.
Access Control
First, install and configure a gateway. The gateway facilitates communication between the cloud-based security system and the on-site devices.
After completing the gateway installation and configuration, install controllers, reader interfaces, and readers. For more information about installing devices, refer to Hardware Installation Reference.
Video
To start configuring video, first install a video recorder. The recorder acts as a gateway for video devices.
After completing the recorder installation and configuration, install cameras. Refer to the manufacturer documentation.
Card Formats
After devices are in place, configure card formats to specify the format parameters for the credentials used with the security system.
Spaces
A space is used to manage security and physical access. Define spaces to represent physical areas. Devices can be assigned to spaces to control the area. People can be assigned to spaces to allow them entry into those areas.
People
In the customer portal, add people who will interact with the security system to access the facility. The People page displays a list of all people in the system. Select any person to view their details.
Add people and assign them to spaces where they are allowed access. Then, issue credentials that people can use on the readers to gain entry to spaces. Grant people login access if the users are to log in and help manage the security system.
© 2026 Honeywell International Inc. All Rights Reserved.