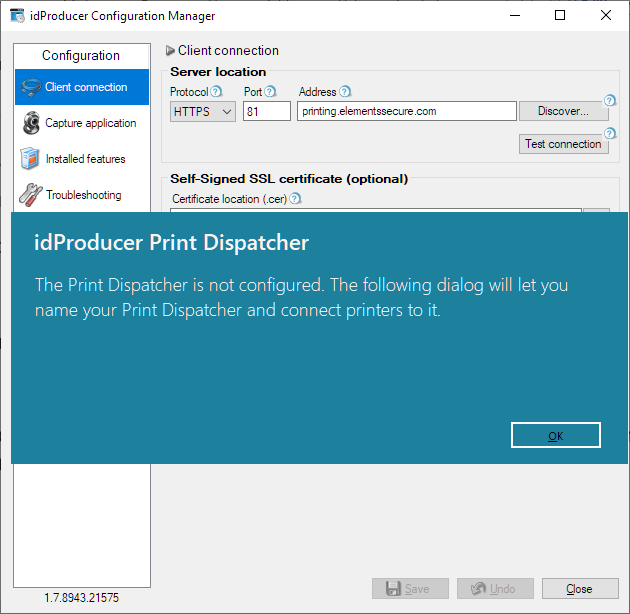
- The idProducer Configuration Manager re-opens with a message reporting the Print Dispatcher configuration is not complete. You need to name the print dispatcher and connect your printers to it.
- Select OK.
- Enter the Dispatch station name, and then select Save.
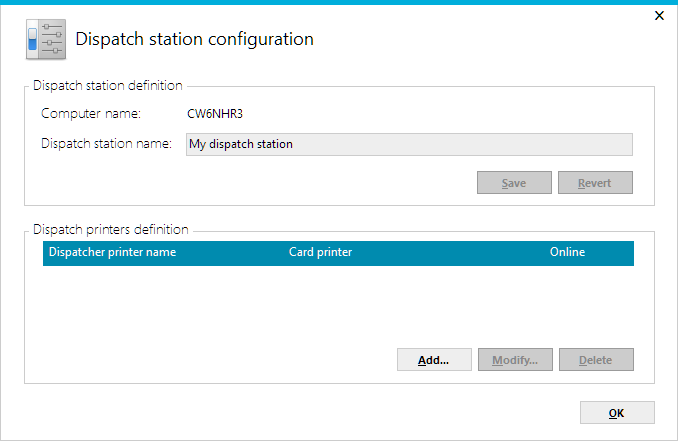
- In the same dialog, select Add and configure the dispatch printer:
- Enter a name for the dispatch printer.
- Choose the printer's Family. If printer drivers are installed, some of the printer settings will automatically populate.
- Rendering:
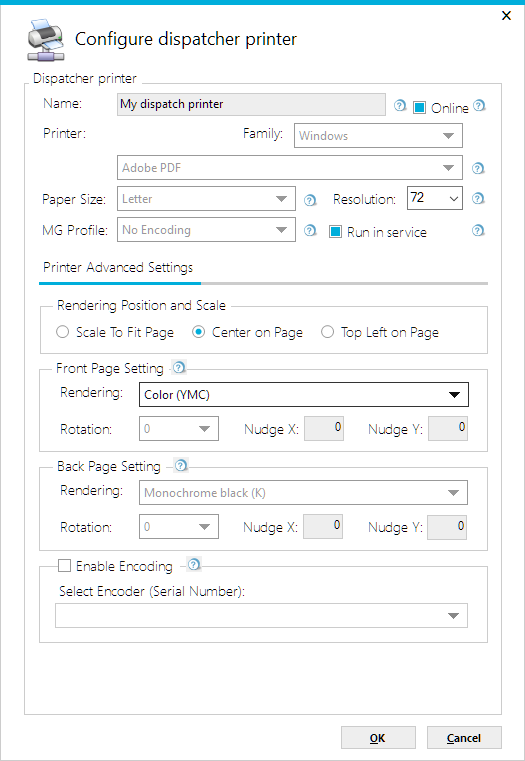
- Select OK.
- The defined (configured) printers are listed. Continue adding more printers to the dispatch station.
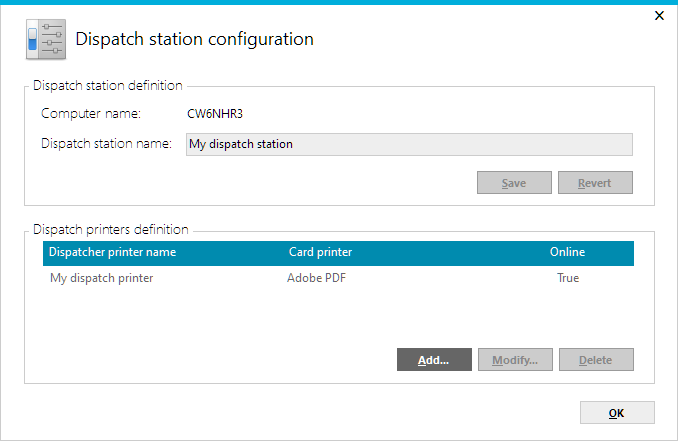
- When all your dispatch printers are configured, select OK.
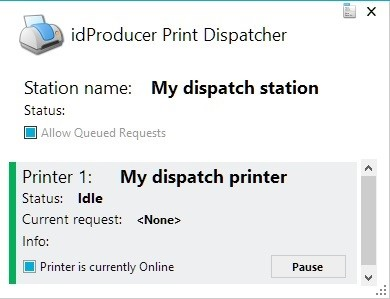
- The printer dispatcher is ready to receive print requests.
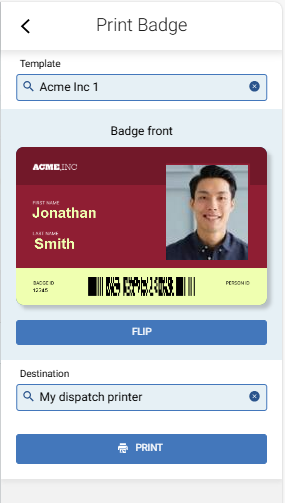
- Now, when a badge needs to be printed in Elements, the printer is available in the Destination list.
© 2026 Honeywell International Inc. All Rights Reserved.